| Lesson 9 | Build and Install a Linux Kernel and Its Modules |
| Objective | Build the configured kernel, identify its target release, and install matching artifacts through the system's supported mechanism. |
Build and Install a Linux Kernel and Its Modules
Compilation uses the configuration prepared in Lesson 8. Installation makes the resulting image and modules available to the operating system; it does not change the kernel that is already running. Perform these exercises in the prepared lab VM.
Build as an ordinary user
Re-establish the same source and build paths, then choose a job count suited to the VM's CPU and memory resources.
version='REPLACE_WITH_SELECTED_RELEASE'
src="$HOME/kernel-lab/linux-$version"
build="$HOME/kernel-lab/build-$version-lab1"
jobs=2
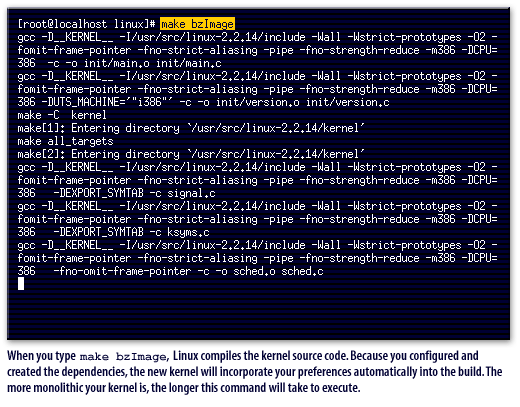
make -C "$src" O="$build" -j"$jobs"
Stop if the command fails and diagnose the first relevant error. Typical causes include a missing development package, insufficient memory or disk space, and unavailable certificate files referenced by the configuration. Do not proceed to installation with an incomplete build.
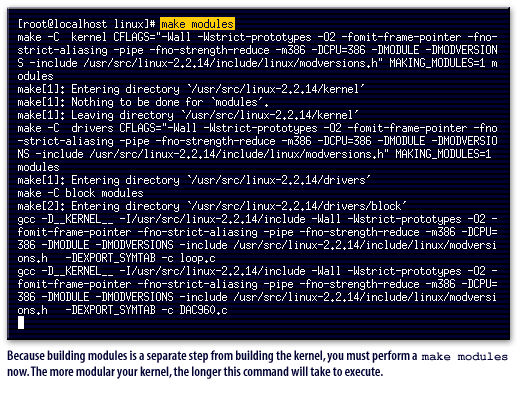
The default build normally builds the architecture's kernel image and configured modules. The explicit modules target remains useful for selected tasks, but the old instruction that every default build must be followed by a separate module build is not a universal rule.
Identify the artifacts
target_release=$(make -s -C "$src" O="$build" kernelrelease)
printf '%s\n' "$target_release"
test -s "$build/arch/x86/boot/bzImage"
test -s "$build/System.map"
test -s "$build/.config"
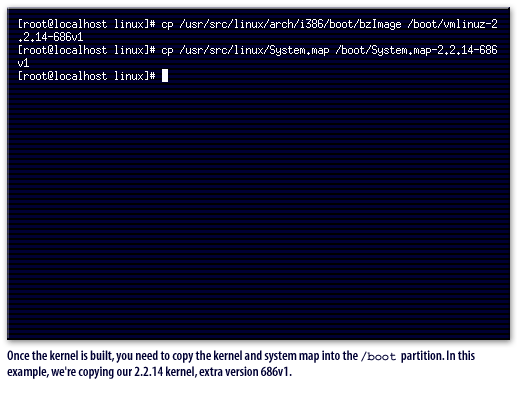
The image path shown here is for the x86 lab. Other architectures can use different image names and boot procedures. System.map records kernel symbols; it is not a substitute for the bootable image or module files.
Choose an installation method before writing to /boot
For normal RHEL administration, prefer the distribution's signed kernel packages. For an upstream lab build, verify which installation helper and hooks your system provides:
command -v installkernelFinding the helper is only the first check. Determine whether its configured hooks install the image, generate an initramfs, and create a boot entry. If the helper is absent or its behavior is unclear, stop and use a documented installation or packaging procedure for that distribution.
On a lab system whose installation hooks support the upstream install target, install modules first and then the kernel:
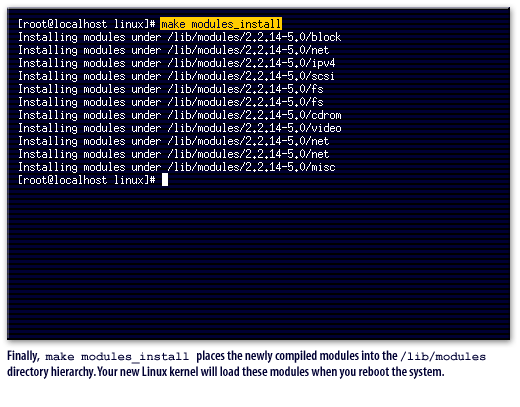
sudo make -C "$src" O="$build" modules_install
sudo make -C "$src" O="$build" install
Check both exit statuses. The module installation belongs under /lib/modules/$target_release; matching release names matter. Retain the previous working kernel and its modules. If the distribution offers a suitable package-building workflow, packages can make installation and later removal easier to track.
Installation is not activation
Keep the target release with your build record. uname -r still reports the old running kernel until you boot another one. Before rebooting, verify the target files, initramfs, boot entry, and signing requirements as described in the next two lessons.
Historical Linux 2.2 installation screenshots
These screenshots contain old release names and manual copy commands. They document the earlier workflow and do not replace the installation checks above.
The next lesson checks the installed target and prepares a controlled first boot.
References
- Linux kernel documentation: Building a kernel
- Linux kernel README: Configuration and compilation
- Linux kernel documentation: Build system