| Lesson 7 | Backing up critical data files and settings |
| Objective | Critical data files and settings to back up before upgrading |
Backing up Critical Data Files
To backup critical data files and settings before upgrading to Windows Server 2022, follow these steps:
- Identify Critical Data and Settings:
- Data Files: Identify important documents, databases, application data, and other critical files.
- System Settings: Include configuration files, application settings, registry keys, and network settings.
- Backup Methods:
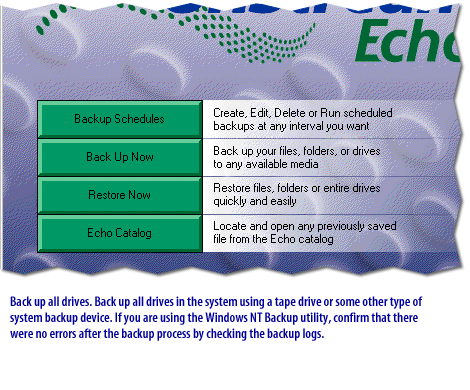
- Using Windows Server Backup
- Install Windows Server Backup:
- Open `Server Manager`.
- Go to `Manage` > `Add Roles and Features`.
- Navigate to `Features` and select `Windows Server Backup`.
- Click `Install`.
- Create a Backup:
- Open `Windows Server Backup` from the `Administrative Tools` menu.
- Select `Local Backup`.
- Click on `Backup Once` or `Backup Schedule` for regular backups.
- Choose `Custom` and click `Next`.
- Select `Add Items` and choose files, folders, or entire volumes to backup.
- Select the backup destination (local drive, external drive, or network share).
- Click `Backup` to start the process.
- Install Windows Server Backup:
- Manual Backup:
- Copy Data Files:
- Manually copy important files and folders to an external drive or network location.
- Ensure you copy the following:
- User profiles (e.g., `C:\Users\`)
- Application data directories (e.g., `C:\ProgramData\`)
- Export System Settings:
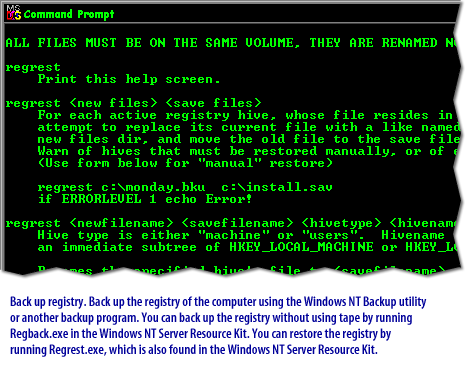
- Registry Settings:
- Open `Run` (Windows + R), type `regedit`, and press Enter.
- Right-click on the key you want to export and select `Export`.
- Save the .reg file to an external location.
- Network Settings:
- Open `Command Prompt` with administrative privileges.
- Run `netsh interface ip dump > C:\backup\network-settings.txt`.
- Registry Settings:
- Copy Data Files:
- Using Third-Party Backup Solutions:
- Consider using third-party backup software like Acronis, Veeam, or EaseUS to create comprehensive backups.
- Follow the software-specific instructions to backup data and system settings.
- Using Windows Server Backup
- Verify Backup Integrity:
- After completing the backup, verify the integrity of the backup files.
- Check that all critical data and settings are included and accessible.
- Additional Considerations:
- Application-specific backups: Some applications have their own backup utilities. Make sure to use them if available.
- Database backups: Use appropriate tools (like SQL Server Management Studio for SQL databases) to create database backups.
- Store Backups Securely:
- Ensure that backups are stored in a secure location, preferably offsite or in the cloud, to protect against physical damage or theft.
Before you upgrade to Windows Advanced Server, it is important that you back up critical files to ensure that your data is saved in case
the upgrade process fails.
Why an upgrade could fail?
Despite all of your efforts to the contrary, an upgrade could fail in the following cases:
- The power goes out during the upgrade process, and then comes prev on with a surge, which corrupts key files.
- Hardware or software incompatibilities that render the machine unable to boot.
- Marginal hardware that is in the process of failing prior to the prevup is stressed to its limits and breaks during the upgrade.
One should always approach the upgrade process with a positive attitude and expect that the process will function as expected.
However, you must always be prepared to lose all data contained on the computer you are about to upgrade.
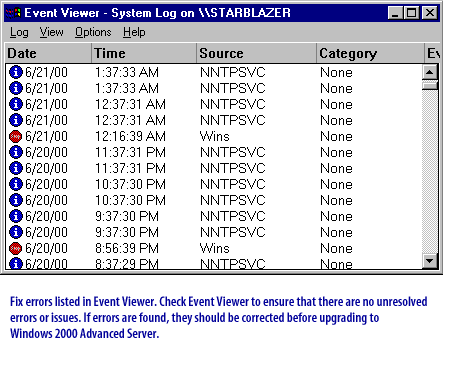
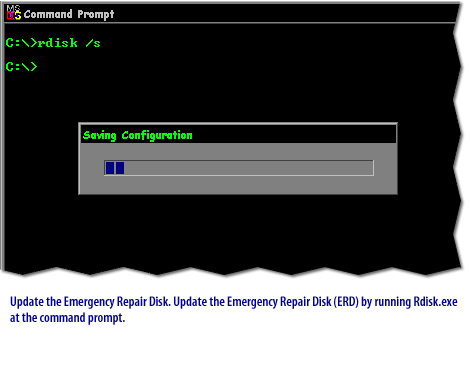
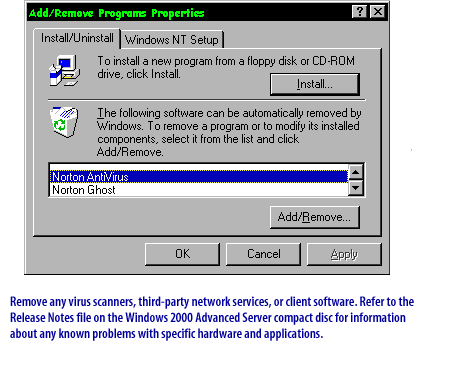
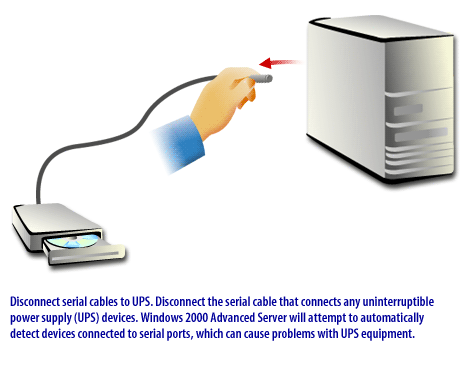
The time the upgrade fails is the time you failed to prepare for such an event. To prev up critical files and settings, perform the steps demonstrated in the following SlideShow.
However, you must always be prepared to lose all data contained on the computer you are about to upgrade.
The time the upgrade fails is the time you failed to prepare for such an event. To prev up critical files and settings, perform the steps demonstrated in the following SlideShow.
Backing up critical data files and settings
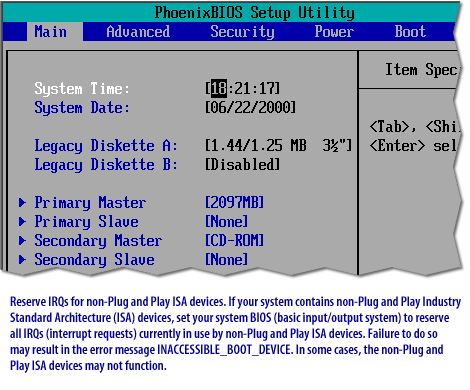
PhoenixBIOS Setup Utility

Main | Advanced | Security | Power | Boot

System Time [18:21:17]

System Date [06/22/2000]

Legacy Diskette A [1.44/1.25 MB 3½"]

Legacy Diskette B [Disabled]
- Primary Master [2097MB]
- Primary Slave [None]
- Secondary Master [CD-ROM]
- Secondary Slave [None]
After you complete the preparation tasks and prev up your critical files and settings, you can begin the Windows installation procedure. The installation procedure for upgrading to Windows Advanced Server is similar to the procedure for a new installation. In the next lesson, you will learn how to identify setup errors.