| Lesson 7 | Setting up NIS services |
| Objective | Set up NIS master server and several NIS clients. |
Setting up NIS services
In the next several lessons, you will set up a simulated network as an NIS domain by configuring one machine to be an NIS master
server and making other systems NIS clients. Because the most useful application of NIS is a network-wide password (and group) database, you will create this kind of NIS system. After you have created such a network password database, a user will be able to log on to all machines in the NIS domain using the same username and password. With the help of the NFS distributed file system, discussed in the next module, users can also access the same home directory from every machine. This facility makes the machines interchangeable from the user’s point of view. The procedure we will follow is more or less independent of the system on which you are working. However, on AIX, NIS servers can be configured using SMIT and the following command:
host# smit mkserver
Set up Master Server
In the simulation below, you’ll configure a system to be the master NIS server in an NIS domain. This process will be simulated in a Linux environment, but the steps and commands are essentially
the same on other flavors of UNIX.
1) NIS Server 1
2) NIS Server 2
3) NIS Server 3
4) NIS Server 4
5) NIS Server 5
6) NIS Server 6
7) NIS Server 7
8) NIS Server 8
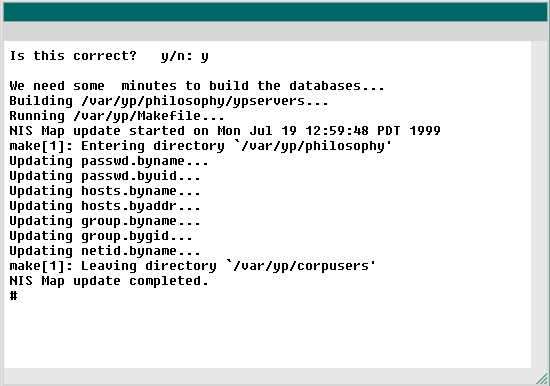
9) NIS Server 9
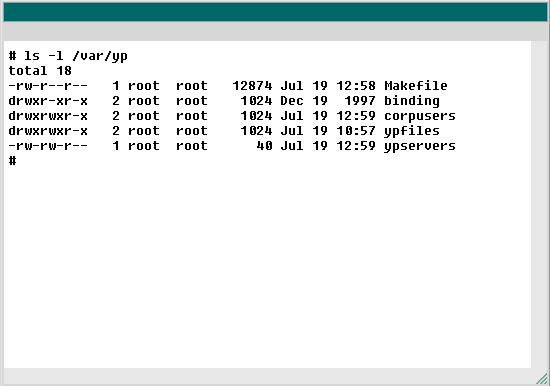
10) NIS Server 10
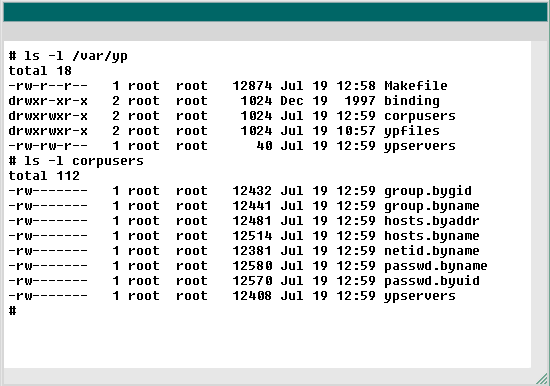
11) NIS Server 11
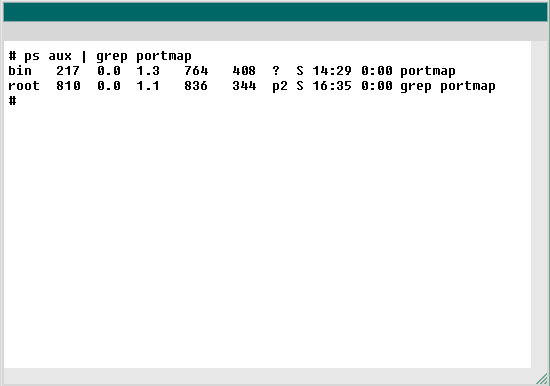
12) NIS Server 12
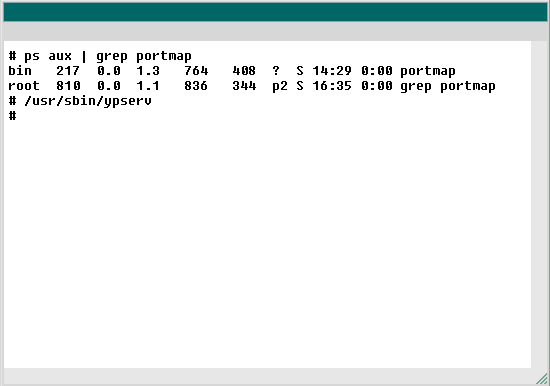
13) NIS Server 13
14) NIS Server 14
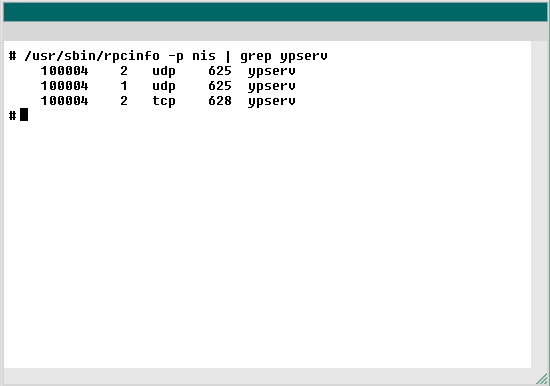
15) NIS Server 15
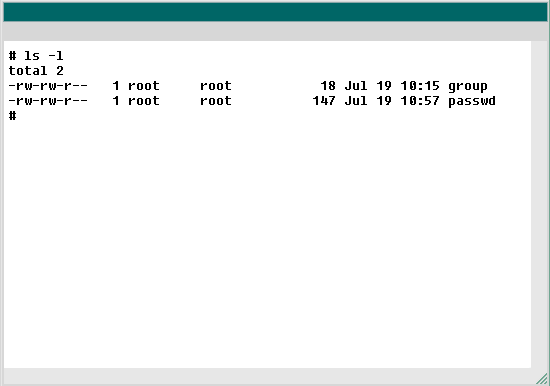
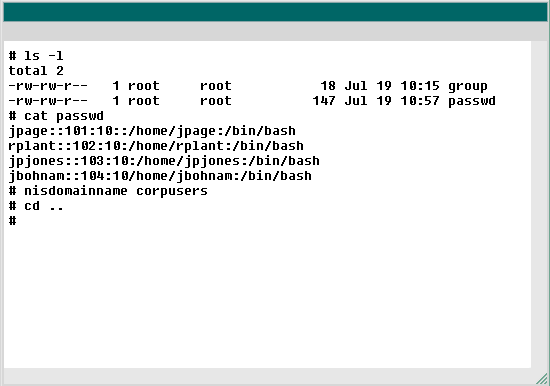
- You are logged on to a system named nis, which is in the corporation.com DNS domain. You will configure this system to be the master NIS server in the corpusers NIS domain. You are already logged on as root, because you must have these permissions to configure NIS. You are in the /var/yp/ypfiles directory. This is the standard directory to store your NIS passwd and group files. You may use any directory, as long as you specify it in the Makefile. You will learn more about this file shortly. Type ls -l to list all the files in the current directory (/var/yp/ypfiles)
- List the files,
- ls -l
- The command you have entered is incorrect. Please check the instructions and try again.
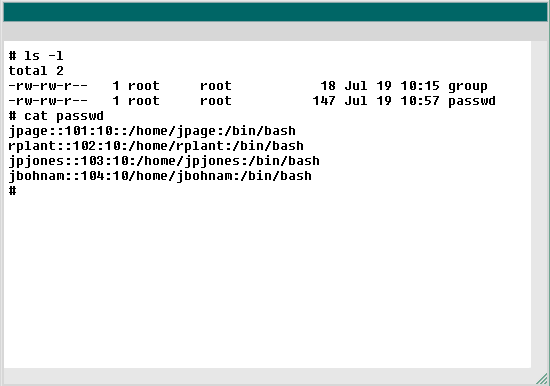
- Notice that the NIS passwd and group files are listed. The format for these files is identical to that of the standard /etc/passwd and /etc/group files. As a systems administrator, you may need to create such files, however. Remember that these NIS files govern access for an entire NIS domain, not just for one machine. Use the cat command to view the passwd file.
- View file contents
- cat passwd
- Type cat passwd to view the contents of this file.
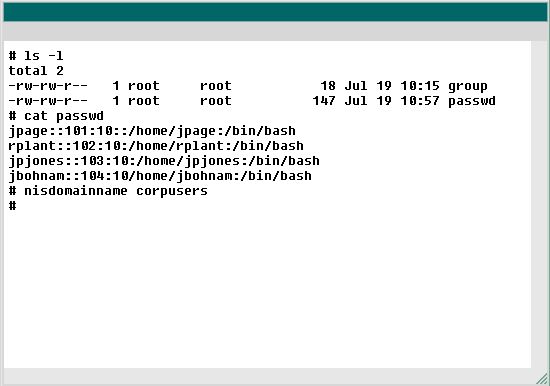
- Normally, an NIS passwd file is quite large. For the purpose of this simulation, we will show you only four usernames: jpage, rplant, jpjones, jbohnam. Notice also that these users have null password values (in other words, they do not have any passwords). Remember that with NIS, you must name your new group and passwd files "passwd" and "group" in order for NIS to work properly. The ypserv daemon looks for these filenames as specified in the Makefile file. We'll get to that shortly. First, set your NIS domain name as corpusers, using the nisdomainname program. Type nisdomainname corpusers (On non-Linux machines, this command is called domainname ).
- Set the NIS domain name
- nisdomainname corpusers
- Type nisdomainname corpusers .
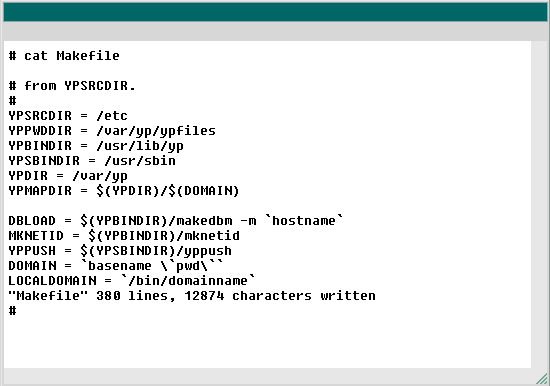
- You do not need to use the same domain name for NIS and DNS. So, you now have the necessary files (passwd and group) and are ready to use Makefile, which is always in the /var/yp/ directory. Before you create a map, you need to make sure that Makefile is pointing to the /var/yp/ypfiles directory. You are still in the /var/yp/ypfiles directory, so type cd .. to change to the /var/yp/ directory.
- Change directories
- cd ..
- The command you have entered is incorrect. Please check the instructions and try again.
Now that you have an operating NIS server on your local network, it is time to activate the client side of the NIS system.
Setup NIS Services - Exercise
Click the Exercise link below to try your hand at NIS client-side configuration.
Setup NIS Services - Exercise
Setup NIS Services - Exercise